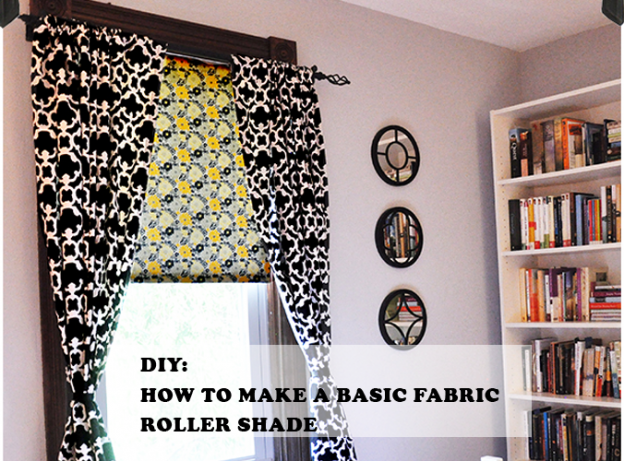
DIY: How to Make a Basic Fabric Roller Shade
 Home Decor
  December 28, 2014
 Comment (0)
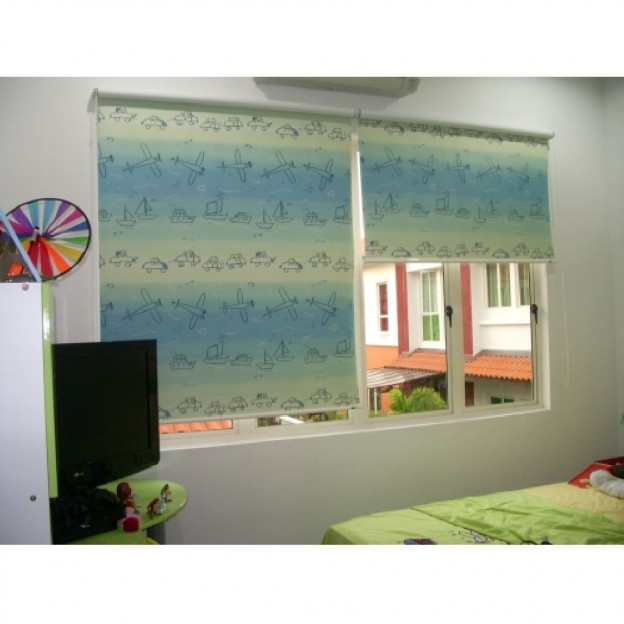
We said that we’d do them for you, but in case you’re bored and you want stir up some activity and creativity, here are a couple of simple steps that you can follow to make a basic fabric roller for that random window that has no purpose… like the one in this door.
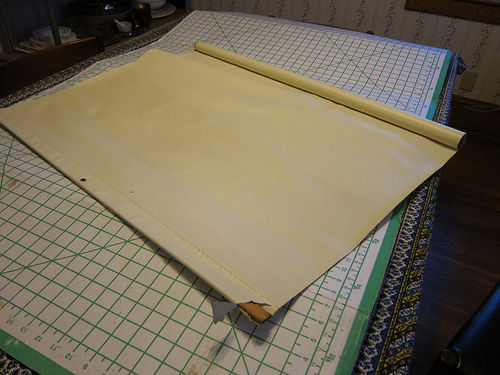
1: Snag a Useless Vinyl Roller Shade
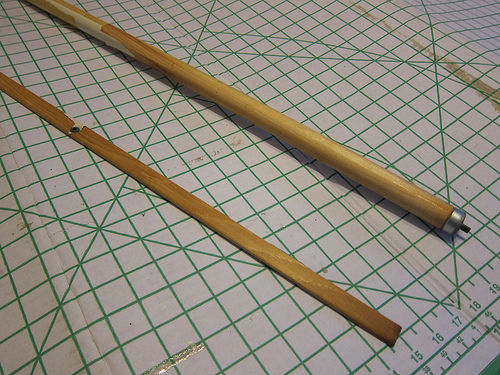
Just make sure the one you grab is of an appropriate measurement; rip out the vinyl and throw it away. The only things you’d want to retain are the top holder and the dowel that will weigh the fabric down.
2: Measure
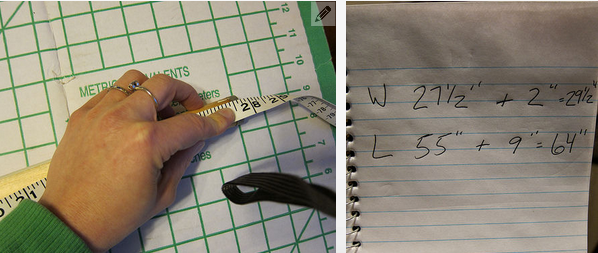
With a measuring tape of course… carefully measure the holder, dowel and the width and length of the window you plan on covering. This is why we told you to take a vinyl roller shade appropriate for your window1 note down these measurements.
3: Cut the Fabric
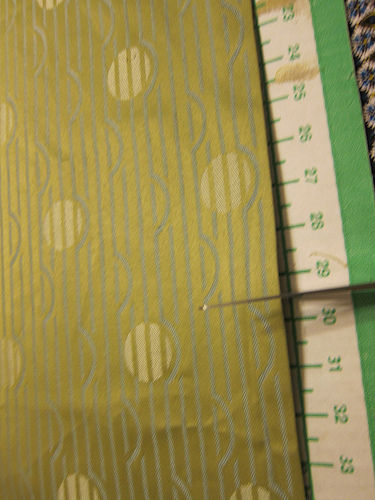
Get the fabric of your choice and start cutting it – a little bigger than the measurements you took off your window and the roller holder and dowel. You might want to increase the measurements to add a hemming margin – about 2 inches along the width and 9 inches to the length these numbers are not fixed though… you can improvise. You could even use the discarded vinyl as a pattern in case you aren’t’ sure of what you’re doing.
4: Finish the Edges
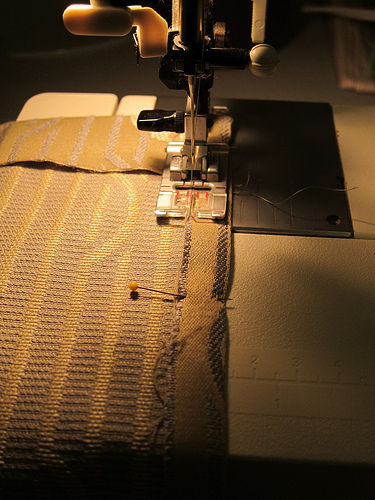
Sew them with a sewing machine – which is why we told you to leave some extra fabric; or you could use double stack hem tape in case your skills with a sewing machine aren’t up to the mark. Don’t worry about turning in edges. You want to keep the fabric as flat as possible for better rolling. Once you’re done with the bottom hem, sew a pocket for the dowel.
5: Assemble the Parts
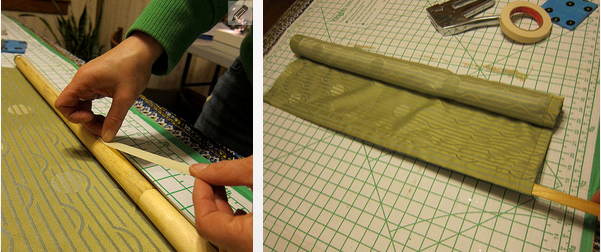
Once you’re done with the finishing, roll some fabric over the top roller and fixate it with a staple gun. Replace the dowel in the pocket and mount the blind on the into its holders on the window.
Voila… you’re done!


 Cart
Cart 
 Blog
Blog